Creating a New Message Group
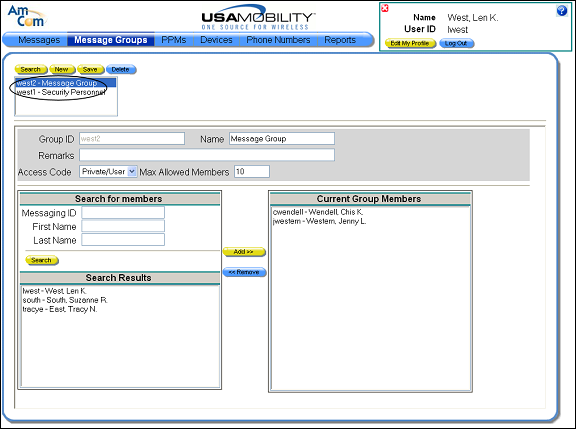
1. Select the Message Groups option from the menu bar. The Message Groups screen displays. A list of the message groups previously created by the user displays in the selection window.
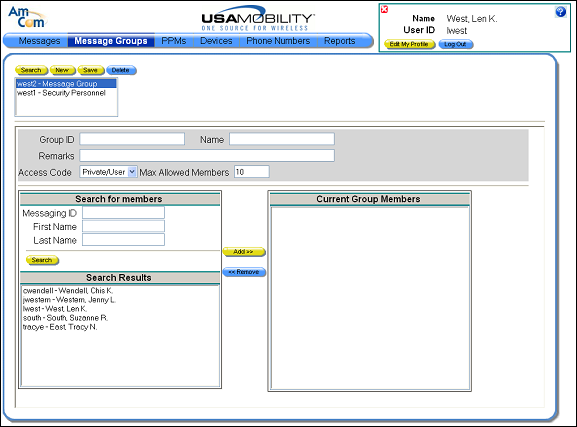
2. Click on the New button to clear the message groups screen so that a new message group can be created.
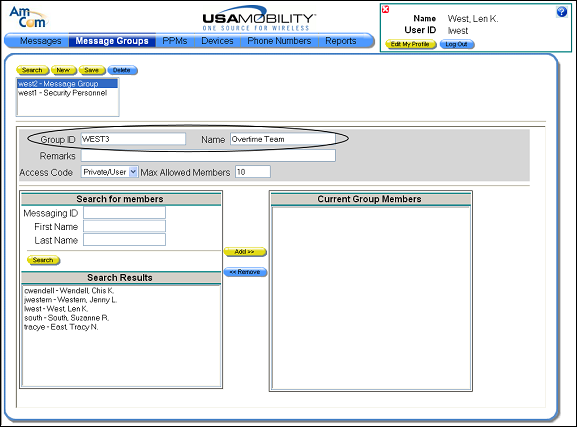
3. In the Group ID field, enter a unique name for the message group. When assigning a message group ID, the following requirements must be met:
· Must be unique among all messaging IDs and group messaging IDs across all COGs.
· Allowed characters are alpha, numeric, the period character, the dash character, and the underscore character.
· All alpha characters are converted to lower case for storage and verification.
· Consecutive underscore characters are not allowed, for example, __
· Minimum length is 3 characters.
· Maximum length is 80 characters.
4. In the Name field, enter a unique, descriptive name for the message group. The message group name must be unique across all companiesnot within just the users own company.
5. In the Remarks field, enter any comments or notes about the message groups. Entering a remark is optional.
6. The access code is set to PRIVATE/USER by default and cannot be changed. The maximum number of members that can be assigned by this user to a message group displays in the Max Allowed Members group and cannot be changed.
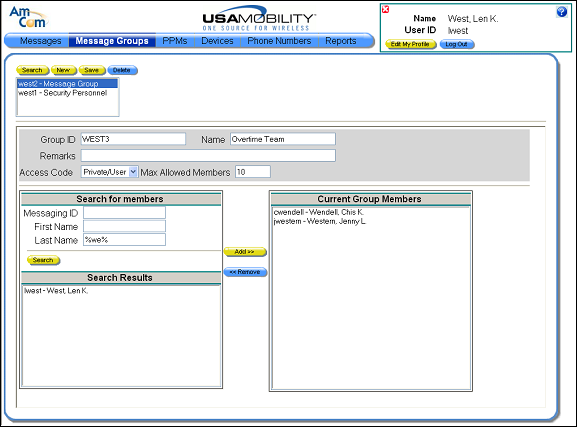
7. Add members to the group. The people that can be added to a message group display in the Search Results window. Choose a person from the list, and then click the Add button. The select person displays in the Current Group Members window.
If the list of people is too long to scroll through, the list can be limited by using the Search feature.
a. In the Messaging ID, First Name, or Last Name field in the Search for Members window, enter the appropriate information. A partial entry followed by the percent symbol (%) can be entered to search for any record that contains the partial search string.
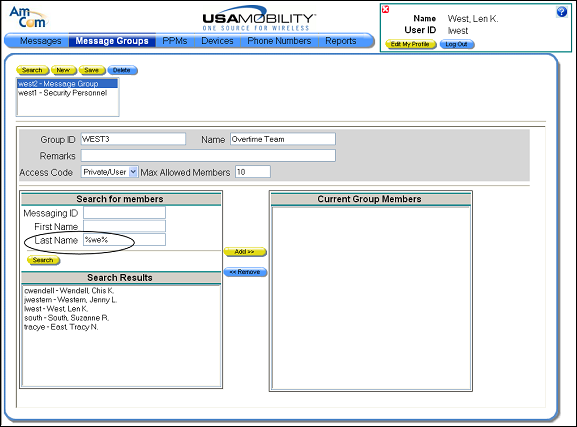
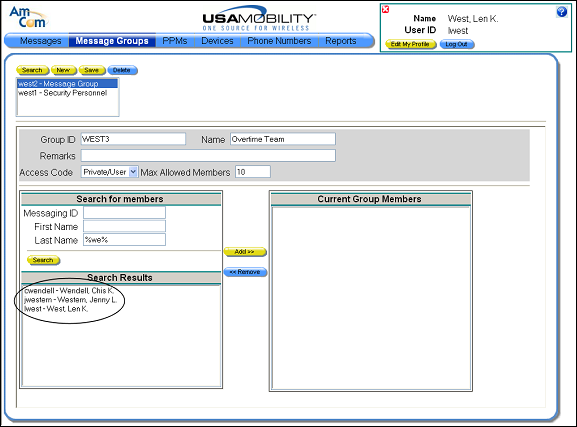
b. Click the Search button. The search results display in the Search Results window.
8. Repeat the process to add all of the members to the group.
9. A message group member can be removed.
a. Click on the member name in the Current Group Members window.
b. Click the Remove button. The name is removed from the Current Group Members window and is placed in the Search Results window.
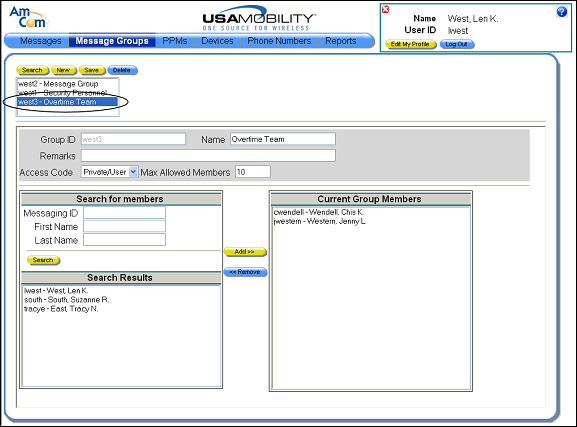
10. Click the Save button to save the message group. A Save Complete message displays.
11. Click the OK button to close the message and continue with the save process. The screen is refreshed, and the new message group is included in the selection window.